
This is a costume made to fit the dress me bunny by Sharon Ojala at amigurumi to go. You will need to make the bunny before you go on to make the costume, but for the minute don't attach the arms, ears or tail. The pattern can be found here, and you can also find some other outfits for your bunny.
Difficulty:

Medium
You will need:
- Crochet hook the same size as the one you used for the bunny (I used a 3mm one)
- The same weight yarn (I used double knitting) as you used for the bunny in red, blue and black
- A darning needle for sewing up
For the head:
Make a magic loop with 6 sc (6sc)
Round 1: 2sc in each st (12sc)
Round 2: sc in first st, 2sc in the next st, rep to end. ch1, turn (18sc)
Row 3: sc in the first 2 sts, 2sc in the next st, rep twice. ch1, turn (12sc)
Row 4: sc in the first 3 sts, 2sc in the next st, rep twice. ch1, turn (15sc)
Row 5: sc in the first 4 sts, 2sc in the next st, rep twice. ch1, turn (18sc)
Row 6: sc in the first 5 sts, 2sc in the next st, rep twice. ch1, turn (21sts)
Row 7: sc in the first 13 sts, 2sc in the next st, sc in the next 7 sts. ch1, turn (22sc)
Rows 8-11: (4 rounds) sc in each st around. ch1, turn (22sc)
Fasten off
Rejoin yarn to round 2

Row 4: sc in the first 3 sts, 2sc in the next st, rep twice. ch1, turn (15sc)
Row 5: sc in the first 4 sts, 2sc in the next st, rep twice. ch1, turn (18sc)
Row 6: sc in the first 5 sts, 2sc in the next st, rep twice. ch1, turn (21sts)
Row 7: 2sc in the first st, sc in the next 13 sts, 2sc in the next st, sc to end. ch1, turn (23sts)
Rows 8-10: (3 rounds) sc in each st around. ch1, turn (23sc)
Row 11: sc in each st (23sc)
Round 12: sc in the first st on the next section

sc in the next 21 sts to end of section, sc in the first st of the section you started the round on, sc in the next 22 sts to end of round.(45sc)
Rounds 13-15: (3 rounds) sc in each st (45sc)
Round 16: sc in the first 13 sts, sc2tog, rep to end (42 sc)
Round 17: sc in each st (42sc)
Round 18: sc in the first 5 sts, sc2tog, rep to end (36sc)
Round 19: sc in the first 4 sts, sc2tog, rep to end (30sc)
Round 20: sc in the first 4 sts, sc2tog, rep to end (25sc)
Round 21: sc in each st (25sc)
Fasten off
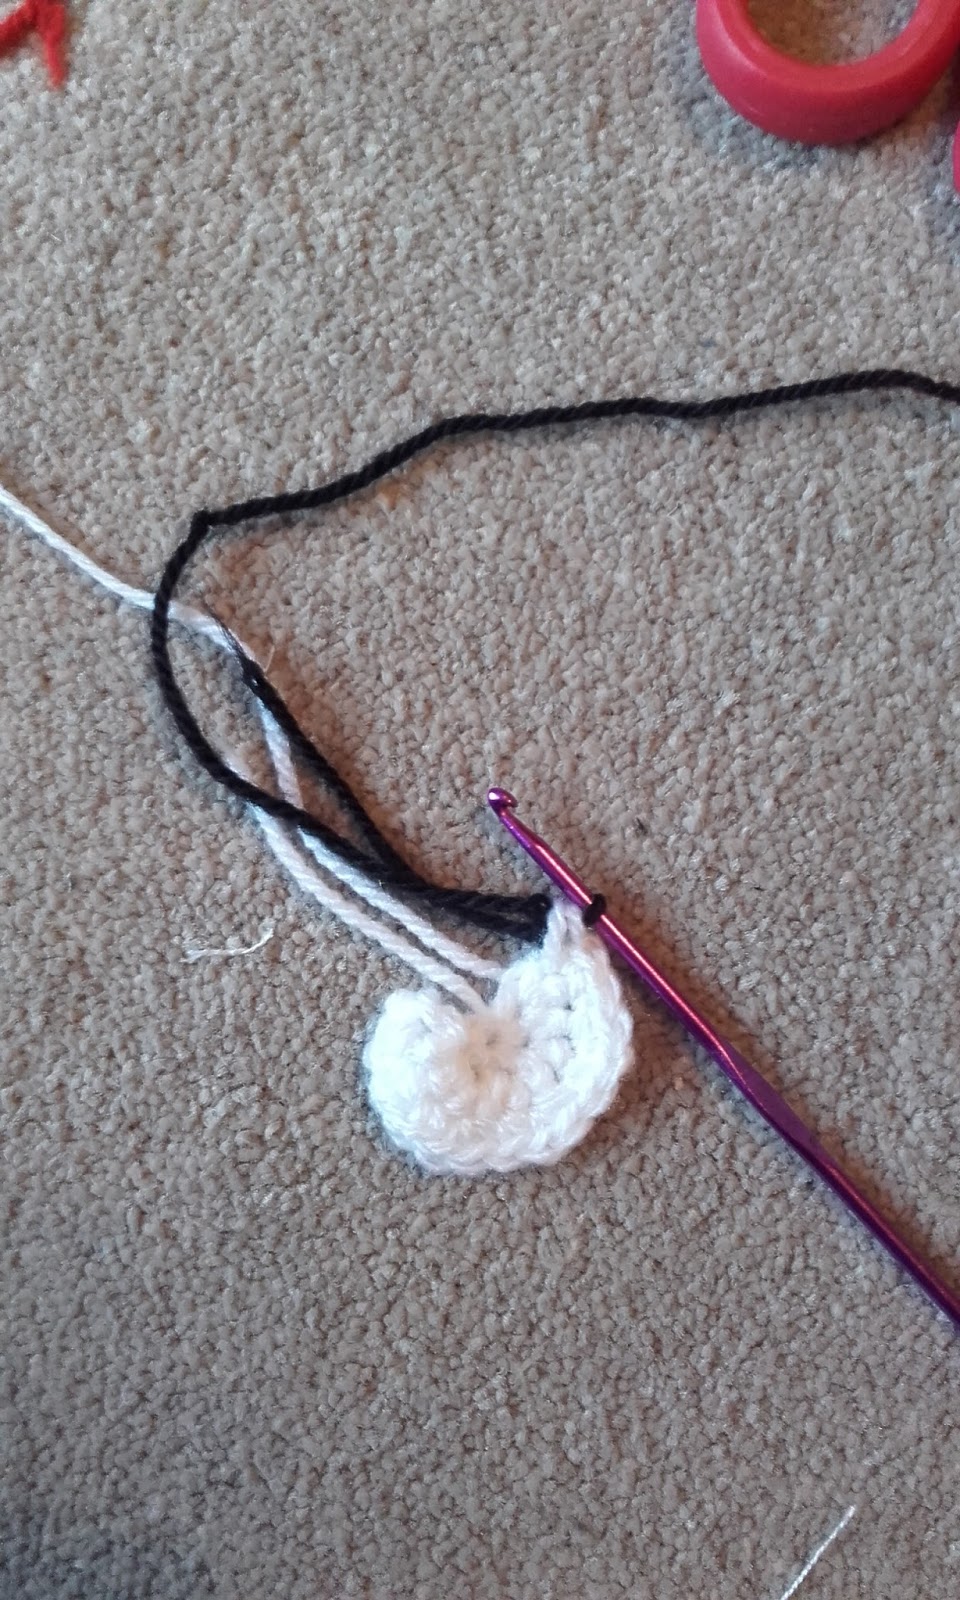
Eye patches:
With white make a magic ring with 5 sc but do not join, instead ch 1 and turn (5sc)
Row 1: 2sc in each st. ch1, turn (10sc)
Row 2: sc in the first st, 2sc in the next st, rep to end, but change to black in the last pull though of the last loop

Ch1, turn (15sc)
Round 3: sc in the first 2 sts, 2sc in the next st, rep to end. ch1 then sc in the same st. sc 6 across the base of the semi-circle, ch2, ss into 1st sc of round
Fasten off
Make another the same until the beginning of round 3
Round 3: sc in the first 2 sts, 2sc in the next st, rep to end. ch2 then sc in the same st. sc 6 across the base of the semi-circle, ch1, ss into 1st sc of round
Fasten off
Use the tail ends to sew the patches to the head, referring to the picture below if necessary:

Next you need to sew the web onto the head.
 |


 |
| After you've sewn these lines on sew the across bits on like you did at the front. |
 |
| Sorry I forgot to take a picture of what it looked like in real life |
For the Trousers:
For the shoes (make 2):
With red make a magic loop with 6 sc
Round 1: 2sc in each st (12sc)
Round 2: sc in the first st, 2sc in the next st, rep to end (18sc)
Round 3: sc in the first 2 sts, 2sc in the next st, rep to end (24sc)
Round 4: sc in the first 3 sts, 2sc in the next st, rep to end (30sc)
Round 5: sc in the first 9 sts, 2sc in the next st, rep to end (33sc)
Rounds 6-7: (2 rounds) sc in each st (33sc)
Round 8: sc in the first 9 sts, sc2tog, rep to end (30sc)
Round 9: sc in each st (30sc)
Round 10: sc in first st, 2sc in next st, rep 4 times, sc in the next 15 sts (25sc)
Round 11: sc in first 3 st, 2sc in next st, rep, sc in the next 15 sts (23sc)
Round 12: sc in first 2 st, 2sc in next st, rep, sc in the next 15 sts (21sc)
Rounds 13-14: (2 rounds): sc in each st (21sc)
Round 15: sc2tog, sc in the next 19 sts (20sc)
Change to blue yarn
Rounds 16 - 23: (8 rounds) sc in each st (20sc)
Fasten off
Before you do the next section you will need to embroider the 'web' onto the red section of the feet.
For the upper section:
Line up the boots side by side with the toes facing forwards and sc through 5 sts in both boots at the same time


Round 1: crocheting through only one boot at a time, sc around the edge of both boots (30sc)

Rounds 2-4: (3 rounds) sc in each st (30sc)
Round 5: sc in the first 12 sts, ch6, sc into the 7th st from the hook, sc in the last 11 sts (30sts)
Round 6: sc in each st (30 sc)
Round 7: sc in the first 4 sts, 2sc in the next st, rep to end (36sc)
Fasten off
For the sleeves:
With red make a magic ring with 6sc
Round 1: 2sc in each st (12sc)
Round 2: sc in the first st, 2sc in the next st, rep to end (18sc)
Rounds 3-4: (2 rounds) sc in each st (18sc)
Round 5: sc in the first 4 sts, sc2tog, rep to end (15sc)
Rounds 6-7: (2 rounds) sc in each st (15sc)
Change to blue
Round 8: sc in each st (15sc)
Round 9: sc2tog, sc in the next 5 sts, sc2tog, sc in the next 6 sts (13sc)
Rounds 10 - 15: (6 rounds): sc in each st (13sc)
Round 16: sc in the first 7 sts (7sc)
Fasten off
Embroider the web on like you did above

Then sew the bits on in between like you did above
For the jacket:
With blue make 40 fsc. ch1, turn (40sc)
Rows 1 - 6: (6 rows) sc in each stitch. ch1, turn (40 sc)
Row 7: sc in the first 6 sts, sc2tog, rep to end. ch1, turn (35sc)
Rows 7 - 8: sc in each st. ch1, turn (35sc)
Row 9: sc in the first 5 sts, ch6, sc into the 7th st from hook, sc in the next 7 sts, ch6, sc into the 7th st from hook, sc in the last 9 sts. Change to red in the last yo of last st and ch1, turn (35sc)
Row 10:Sc in each st (35sc)
Fasten off
For the front strip:
With red make a magic loop with 2 sc. Ch1, turn (2sc)
Row 1: 2sc in each st (4sc)
Rows 2 - 5: (4 rows) Sc in each at. ch1, then (4sc)
Row 6: sc 2 in the first st, sc in the next 2 sts, sc2 in the last st. ch1, turn (6sc)
Row 7: sc in each st
Row 8: sc 2 in the first st, sc in the next 4 sts, sc 2 in the next st (8sc)3
Row 9: sc 2 in the first st, sc in the next 6 sts, sc 2 in the next st (10sc)
Row 10: *ch 13, ss into the 2nd ch from the hook and the next 2 ch sts
sc in the next 9 ch sts, but sc into the back of the underneath of the last st. Ch1, turn
 |
| Put your hook through from the back to front of the bottom loop like this |
Row 9 (this will end up going underneath the last row): sk the first st,ss into the 1st st, sc in the next 6 sts, sc into the next st, ch1, turn
Row 8: sk the 1st st, ss into the next st, sc into the next 4 sts, ss into the next st. ch1, turn
Row 7: sk the first st, ss into the next st, sc into the next 2 sts, ss into then next st.
Row 6:sk the 1st st, sc into the next 2 sts. ch1, turn
Row 5: sc2tog
Fasten off
Rejoin yarn to the other side of the front strip and rep from *
Sew this onto the jacket, as in the picture below
 |
| The small red bits should go over the arm holes |

Then add a spider motif to the centre front. I don't have a very good picture of mine (and it was rushed as I was trying to finish it to give to my cousin for Easter) but it should look kind of like this:

Sew two sets of poppers onto the back of the jacket to fasten it.
Please feel free to comment below if you're unsure about anything, or if you think something might be wrong. This pattern might be a bit difficult to follow in places sorry about that!
Please don't re-post this pattern or claim it as your own. Personally I don't mind if you sell the finished product but technically you're not meant to as Spider-man is copyrighted. It's entirely up to you.
Please don't re-post this pattern or claim it as your own. Personally I don't mind if you sell the finished product but technically you're not meant to as Spider-man is copyrighted. It's entirely up to you.
I hope you like the new layout of my blog and I have some exciting news! Firstly I now have a new blog, which I've been quite busy with which is why I haven't posted much on here for quite a while. You can find it here, I would love if you could check it out. I also have a facebook page, where you can post anything you've made from either of my two blogs, or really anything crafty you've made - I'd really like to see them.
No comments:
Post a Comment