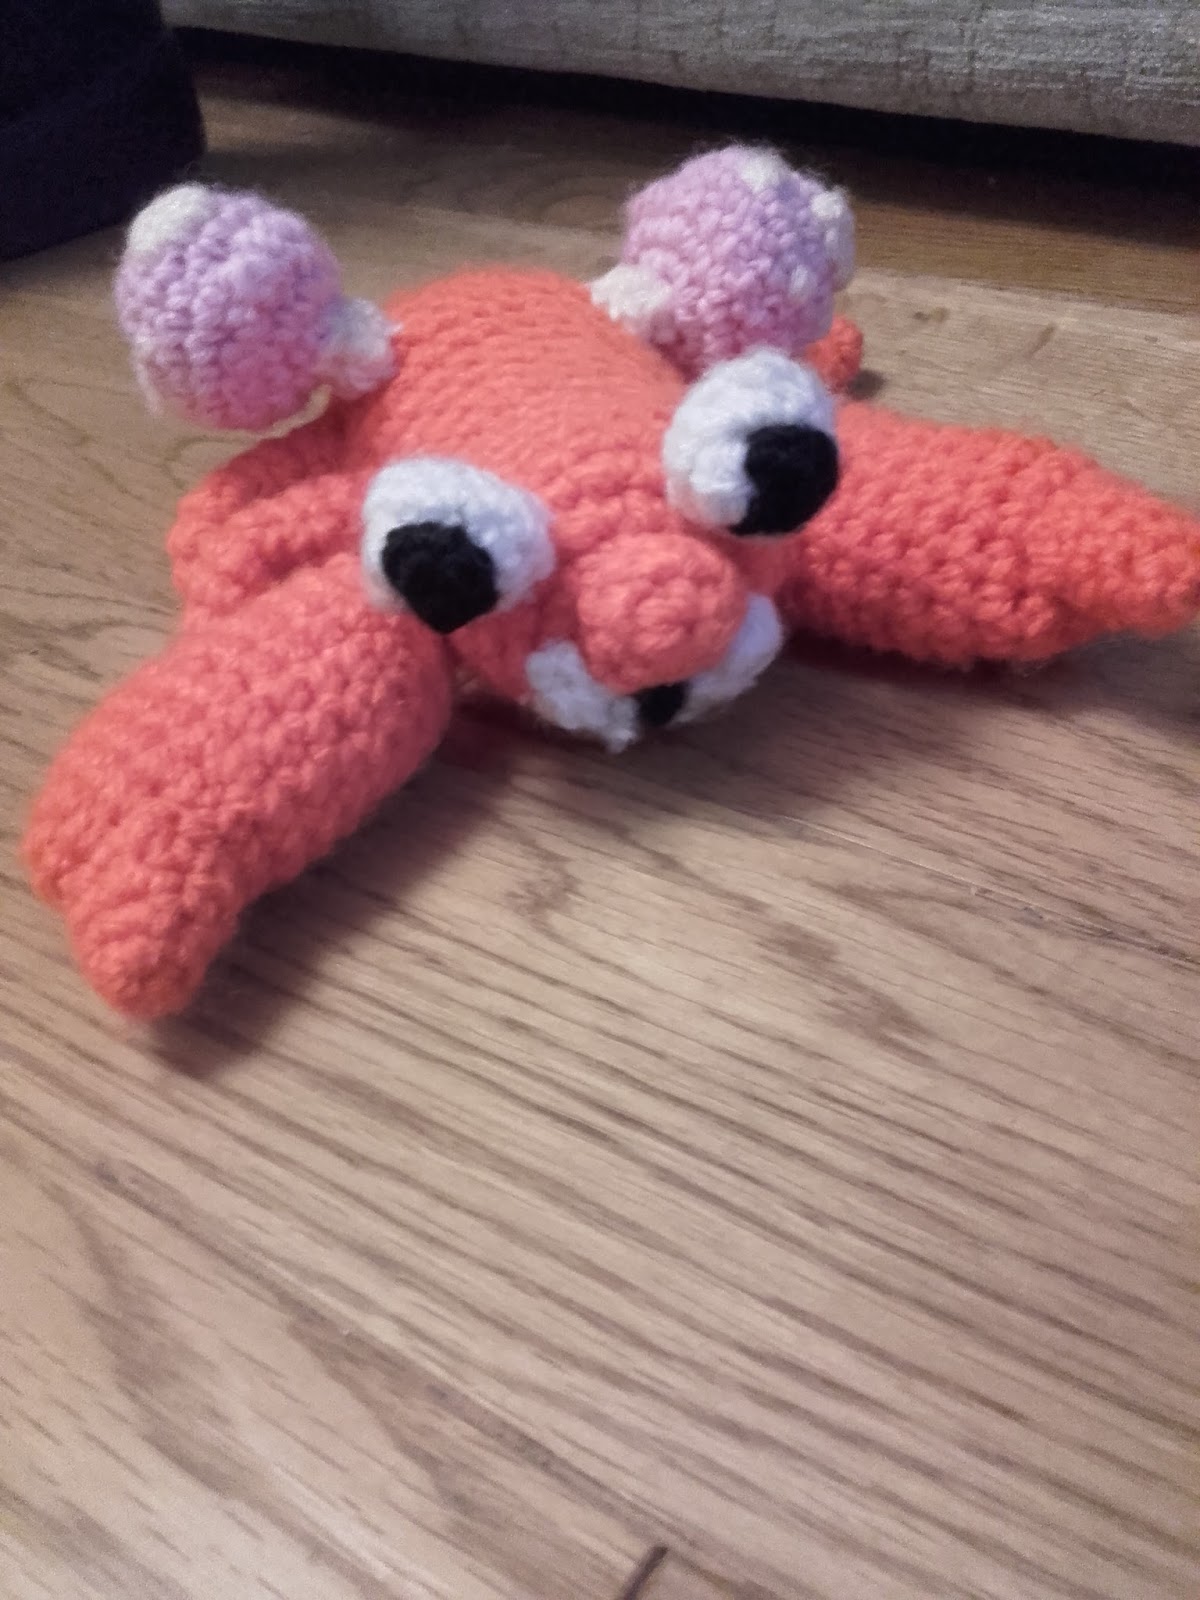
Difficulty:
Medium
You will need:
- 2.5mm crochet hook
- Dk yarn in orange, white, pink, cream and black
- Toy stuffing
- Darning needle for sewing up
- Craft wire (optional)
For the body:
with orange yarn make a magic loop with 6sc
Round 1: 2sc in each st (12sc)
Round 2: sc in the first st, 2sc in the next st, rep to end (18sc)
Round 3: sc in the sirst 2 sts, 2sc in the next st, rep to end (24sc)
Round 4: sc in each st
Round 5: sc in the first 5 sts, sc2tog, sc in thre next 10 sts, sc2tog, sc in the last 5 sts (22sc)
Round 6: sc in each st
Round 7: (sc in the first 5 sts, sc2tog) 3 times, sc in the last st (19sc)
Round 8: (sc in the first 5 sts, 2sc in the next st) 3 rimes, sc in the last st (22sc)
Round 9: sc in each st
Round 10: sc in the first 6 sts, sc2tog, sc in the next 7 sts, sc2tig, sc in the last 5 sts (20sc)
Round 11: sc in the first 6 sts, 2sc in the next st, (sc in the next 5 sts, 2sc in the next st) twice, sc in the last st (23sc)
Round 12: sc in the first 7 sts, 2sc in the next st, (sc in the next 6sts, 2sc in the next st) twice, sc in the last st (26sc)
Round 13: sc in the first 8 sts, 2sc in the next st, (sc in the next 7 sts, 2sc in the next st) twice, sc in the last st (29sc)
Rounds 14 - 15: (2 rows) sc in each st
Round 16: sc in the first 8 sts, sc2tog, (sc in the next 7 sts, sc2tog) twice, sc in the last st (26sc)
Round 17: sc in the first 7 sts, sc2tog, (sc in the next 6sts, sc2tog) twice, sc in the last st (23sc)
Round 18: sc in the first 6 sts, sc2tog, (sc in the next 5sts, sc2tog) twice, sc in the last st (20sc)
Round 19: sc in the first 5 sts, sc2tog, (sc in the next 4sts, sc2tog) twice, sc in the last st (17sc)
Round 20: sc in the first 4 sts, sc2tog, (sc in the next 3sts, sc2tog) twice, sc in the last st (14sc)
Round 21: sc in the first 3 sts, sc2tog, (sc in the next 2sts, sc2tog) twice, sc in the last st (11sc)
stuff the body
sc in the first 2 sts, sc2tog, (sc in the next st, sc2tog) twice, sc in the last st (7sc)
sc in the firs st, sc2tog twice, slip the last st
fasten off
Stuff and sew up
For the pincers (make 2):
make a magic loop with 6sc
Round 1: 2sc in each st (12sc)
Round 2: 2sc in the first st, sc in the next st, sc2tog, sc in the next st, 2sc in the next 2 sts, sc in the next st, sc2tog, 2sc in the next st, 2sc in the last st (14sc)
Round 3: sc in the first 13 sts, 2sc in the last st (15sc)
Round 4: 2sc in the first st, sc in the next 14sts to end (16sc)
Rounds 5 - 7: (3 rounds) sc in each st
Round 8: sc in the first 14 sts, sc2tog (15sc)
Round 9: sc2tog, sc in the next 13sts (14sc)
Round 10: sc2tog, sc in the next st, 2sc in the next st, sc in the next st, sctog twice, sc in the next st, 2sc in the next st, sc in the next st, sc2tog
Round 11: sc2tog in each st
Fasten off
Stuff this section and sew it up.
With orange make a magic loop with 4sc
Round 1: sc in the first st, 2sc in the next st, rep to end (6sc)
Round 2: sc in the frist 2 sts, 2sc in the next st, rep to end (8sc)
Round 3: sc in each st
Fasten off
Stuff and sew this small section onto the front of the larger section, to one side so that it resembles a pincer
Finally sew the whole pincer onto the front to one side of the body (as shown below)
For the legs (make 4):
With orange make a magic loop with 6sc
Rounds 1 - 9: (9 rounds) sc in each st
Fasten off
If you want to be able to shape the legs easily thread some craft wire inside the legs, then sew them to the sides of the body
For the mushrooms:
With light pink make a magic loop with 6sc
2sc in each st (12sc)
sc in each st
sc in the first st, 2sc in the next st, rep to end (18sc)
(2 rounds) sc in each st
Fasten off
For the base of the mushrooms:
With light pink make a magic loop with 6sc
2sc in each st (12sc)
sc in the first st, 2sc in the next st, rep to end (18sc)
Stuff the mushroom and sew the base onto it.
For the stem (make 2):
With cream fsc6
sc in the first st of this fsc row, then sc to end (6sc)
Fasten off
Sew this to the underside of the mushroom and then sew the other end to the top of the body.
For the spots (Make as many as you feel necessary):
Make a magic loop with 6sc. Join with a slip stitch then fasten off. Sew this to the mushroom.
You may also want to make smaller spots by embroidering them on (sew a few stitches in the same place)
For the nose:
With orange make a magic loop with 6sc
Round 1: 2sc in each st (12sc)
Round 2: sc in each st
Fasten off
Sew the nose onto the centre of the face.
For the eyes (make 2):
with white make a magic loop with 6sc
Round 1: 2sc in each st (12sc)
Round 2: sc in each st
Round 3: sc2tog to end (6sc)
Fasten off
Stuff the eyes and sew them to the face just above the nose
For the pupils:
with black maker a magic loop with 6sc
Round 1: sc in the first 2 sts, 2sc in the next st, rep to end (8sc)
Fasten off
Sew these onto the eyes

For the mouth:
With black make a magic loop with 2sc. ch1, turn
2sc in the first st, sc in the next st
Fasten off
Sew the mouth to the face underneath the nose
For the teeth (make 2 sets):
With white ch4 and sc in the 2nd st from the hook. Slip the next stitch and fasten off
With white ch4, slip the third stitch from the hook and sc in the last stitch. Fasten off
With white ch3
Sew the teeth either side of the mouth, so that they overlap slightly (as shown below)


I hope you enjoyed this pattern - Please don't re-post it or claim it as your own and be aware that Pokemon is copyrighted so you're not really meant to sell finished products (sorry)